
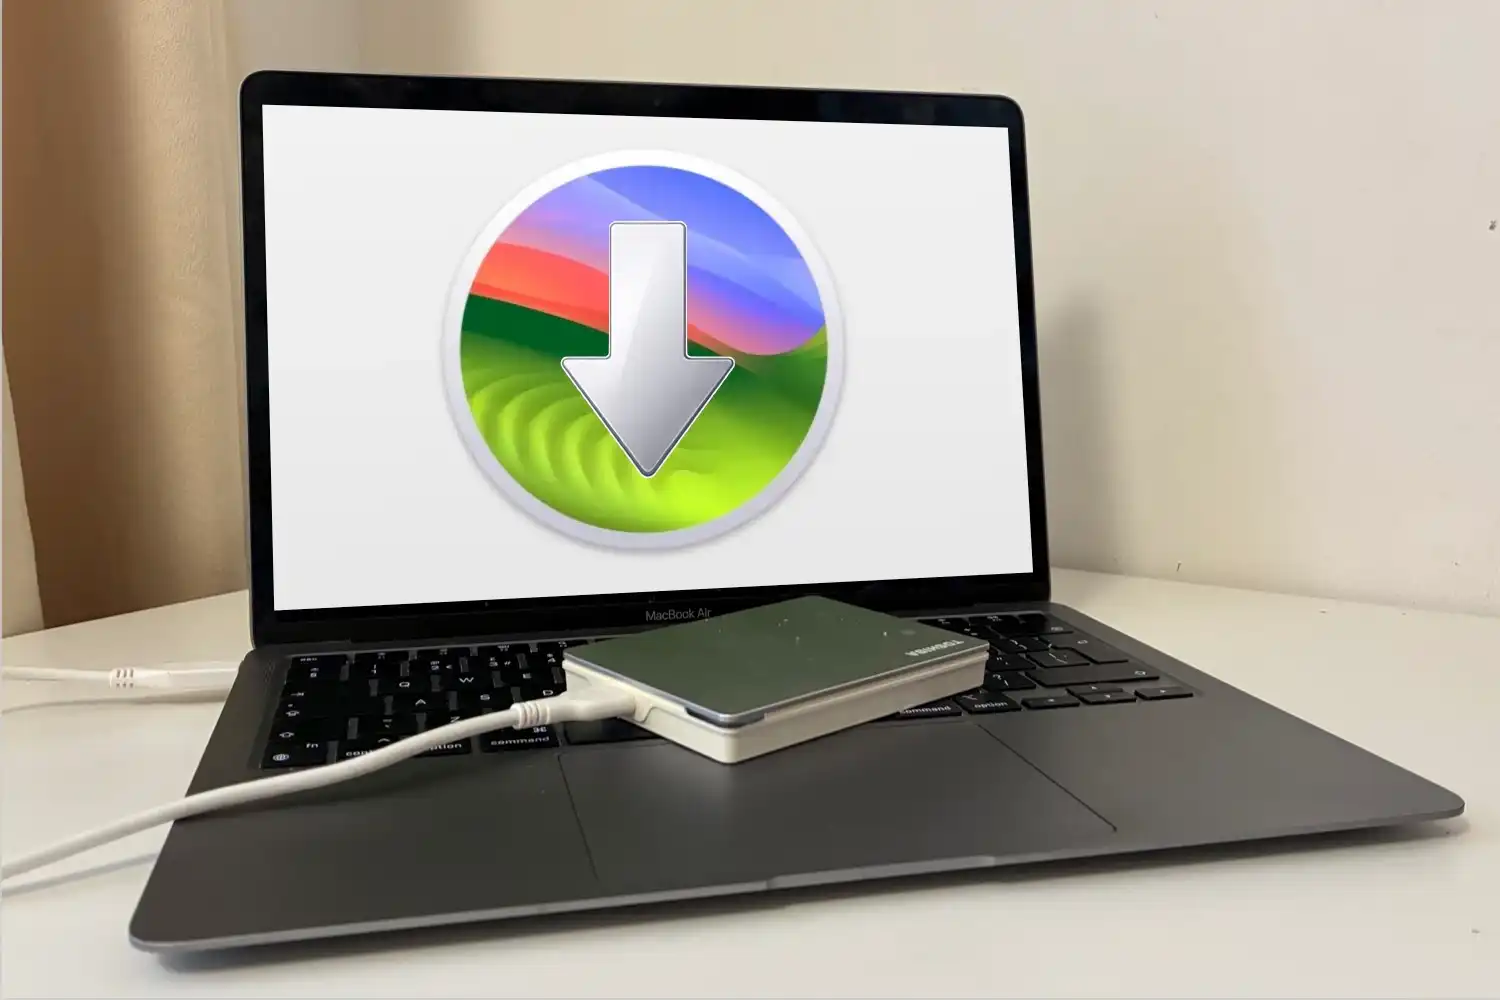
Creating a bootable macOS USB installer is an invaluable skill for every Mac user. Whether you’re troubleshooting a stubborn system, performing a clean install, setting up multiple devices, or even recovering a Mac that can’t access Recovery Mode, having a bootable USB installer at hand can make all the difference. In this detailed guide, we will walk you through the entire process of creating a bootable macOS installer using the createinstallmedia command, a powerful tool that allows you to transfer the macOS installer onto a USB drive and use it across multiple Macs.
Why Create a Bootable macOS Installer?
Creating a bootable USB installer offers numerous advantages over relying solely on macOS Recovery or downloading the macOS installer repeatedly. Here are some key scenarios where this method is particularly beneficial:
- Perform a Clean Installation: Wipe the Mac’s internal storage and perform a fresh installation of macOS. This is ideal for addressing persistent software issues or preparing a Mac for a new user.
- Install macOS on Multiple Macs: Instead of downloading the multi-gigabyte macOS installer multiple times, you can use a single USB drive to install macOS on several machines, saving you both time and bandwidth.
- Downgrade macOS: If a new macOS version causes problems, you can roll back to an earlier version using the bootable installer.
- Upgrade Unsupported Macs: For older Intel-based Macs that Apple no longer officially supports, the bootable installer can be used with tools like OpenCore Legacy Patcher to install newer macOS versions.
- System Recovery: If your Mac cannot access Recovery Mode, the bootable USB installer becomes a reliable method to restore or reinstall macOS.
- Offline Installation: Unlike macOS Recovery, which requires an internet connection, the bootable USB allows for offline installation, making it perfect for locations without a stable internet connection.
With these benefits in mind, let’s dive into the process of creating a bootable macOS installer.
What You Need to Create a Bootable macOS USB
Before you start, gather the following:
- A USB Drive (32GB or more): You’ll need a USB stick or external drive with at least 32GB of storage. It’s recommended to use a USB 3.0 or USB-C drive for faster data transfer, particularly for newer M-series Macs.
- macOS Installer: You can obtain the macOS installer from the Mac App Store, Software Update, or official Apple sources. Ensure you download the correct version for your system.
- A Mac with Admin Access: You’ll need a Mac that can run macOS 10.7 Lion or later, along with administrative privileges to execute Terminal commands.
- Internet Connection: You’ll need this to download the macOS installer from the App Store.
Step 1: Download the macOS Installer
First, you need to download the macOS installer. To avoid confusion, make sure you stop the installation process before it starts. This ensures you have the installer file saved in your Applications folder, where it will be accessible for the next step.
How to Get macOS Installers
- macOS Tahoe: Download via Software Update.
- macOS Sequoia & Later: Available through the Mac App Store for compatible systems.
- Older macOS Versions: Download from the Mac App Store or official Apple links, ensuring compatibility with your Mac.
Once downloaded, the installer will appear in your Applications folder, ready for the next steps.
Step 2: Prepare the USB Drive
Now it’s time to prepare your USB drive for use. To do this, follow these steps:
- Open Disk Utility: Press Command + Space, type “Disk Utility,” and open it.
- Format the Drive:
- Select the external USB drive from the sidebar.
- Click Erase and choose the following settings:
- Name: Give it a recognizable name (e.g., “MyInstaller”).
- Format: For macOS Big Sur and later, select APFS. For earlier macOS versions, select Mac OS Extended (Journaled).
- Scheme: Choose GUID Partition Map.
- Click Erase to format the drive.
Step 3: Run the Createinstallmedia Command
With the macOS installer downloaded and the USB drive formatted, it’s time to use the createinstallmedia command. This command will copy the macOS installer onto the USB drive, making it bootable.
- Open Terminal: Press Command + Space and type “Terminal” to open it.
- Enter the Command:
- Type the following command (replacing “MyVolume” with the name of your USB drive):
sudo /Applications/Install\ macOS\ [macOS version].app/Contents/Resources/createinstallmedia --volume /Volumes/MyVolume --nointeraction - Replace
[macOS version]with the specific version (e.g., “macOS Ventura”). - Press Enter.
- Type the following command (replacing “MyVolume” with the name of your USB drive):
- Enter Your Password: Terminal will ask for your admin password. Type it in (you won’t see the characters appear) and press Return.
- Confirm the Erase: When Terminal asks if you’re sure you want to erase the drive, type
Yand press Return to proceed.
The process will begin, and Terminal will copy the macOS installer files onto the USB drive. This can take several minutes, so be patient.
Step 4: Boot from the USB Installer
Once the process is complete, your bootable macOS installer is ready to use. To boot from the installer:
For Apple Silicon Macs (M-series):
- Shut down the Mac.
- Press and hold the power button until Startup Options appears.
- Select the macOS installer from the list and click Continue.
For Intel Macs:
- Shut down the Mac.
- Power it on and immediately hold the Option (Alt) key.
- Select the macOS installer from the boot menu.
Once selected, the installer will launch, and you can proceed with installing macOS, performing a clean install, or repairing the system.
Creating a bootable USB macOS installer is a valuable tool for troubleshooting, clean installations, and managing multiple devices. By following the steps outlined in this guide, you’ll be able to create a bootable installer and use it for a wide range of tasks, from fresh installs to system recovery. Remember, the process is slightly different depending on whether you have an Intel or Apple silicon Mac, so make sure to follow the appropriate steps for your system.
By having a bootable USB macOS installer ready, you’ll have a reliable backup method for any macOS-related task, ensuring your Mac runs smoothly and efficiently for years to come.