
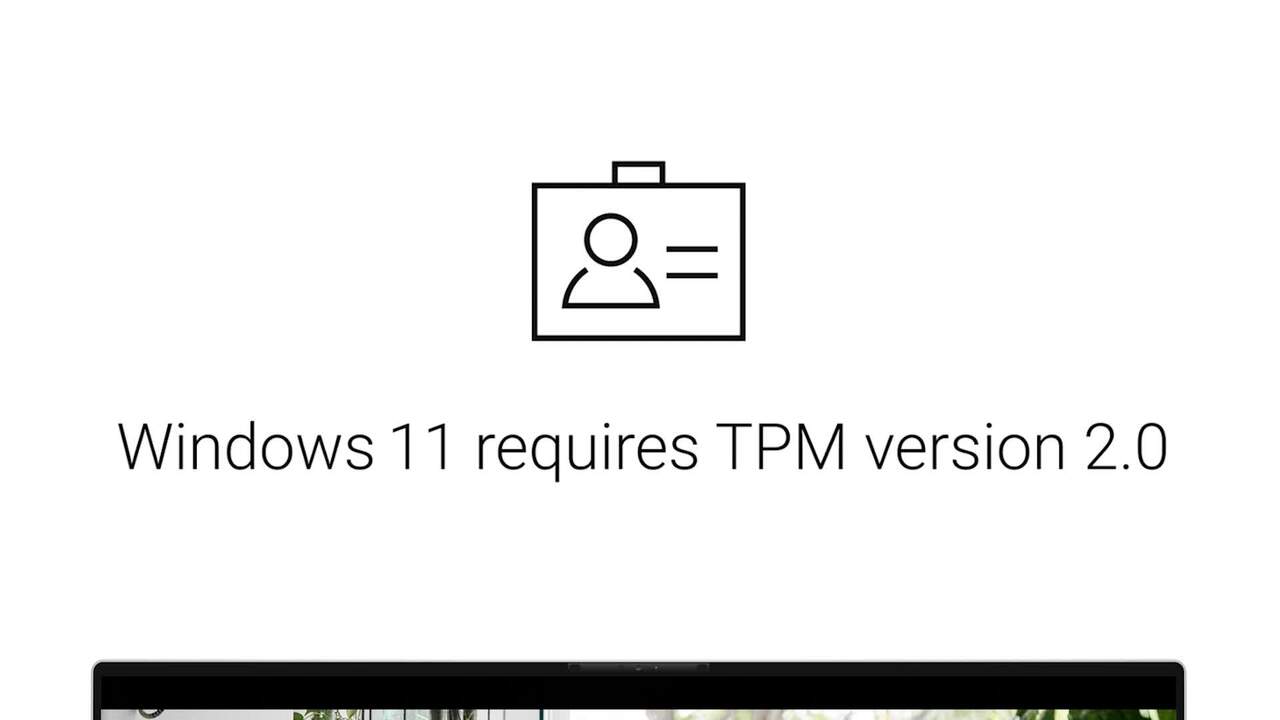
If your PC failed the official compatibility check, the most common reason is a disabled security chip. To fix this, you must enable TPM 2.0 within your system’s BIOS or UEFI menu. Most modern computers manufactured after 2018 include this hardware. However, manufacturers often ship these devices with the feature turned off by default. Follow this guide to unlock your system’s potential and prepare for the latest Windows updates.
The first step requires you to enter the BIOS menu. To do this, restart your computer. As the screen turns on, repeatedly tap a specific key on your keyboard. Usually, this key is Delete, F2, F10, or F12. Once the BIOS interface appears, you will need to navigate using your keyboard or mouse. Most users will find the relevant settings under a tab labeled “Security,” “Advanced,” or “Settings.”
Inside the menu, you must look for the specific name used by your processor brand. If you use an Intel CPU, look for Intel Platform Trust Technology (PTT). If you use an AMD CPU, look for AMD fTPM switch. Selecting these options and changing the status to “Enabled” is the primary way to enable TPM 2.0. Interestingly, some motherboards might simply list it as “TPM Support” or “Security Device Support.”
Different motherboard brands use slightly different layouts. For example, on an ASUS board, you typically go to the “Advanced” tab and then “PCH-FW Configuration.” On a Gigabyte board, you will likely find the setting under “Peripherals.” Meanwhile, HP and Dell users should look directly under the “Security” column. Regardless of the brand, the goal remains the same: ensure the firmware-based TPM is active.
After you locate and change the setting, you must save your changes. Do not simply turn off the computer. Instead, press F10 or navigate to the “Exit” tab and select “Save Changes and Reset.” Your computer will then reboot into Windows. This final step ensures that the system registers the change. Once back on your desktop, you have successfully managed to enable TPM 2.0.
Finally, you should verify the status within Windows to be absolutely sure. Press the Windows Key + R, type tpm.msc, and hit Enter. If the window says “The TPM is ready for use,” your mission is complete. You can now run the PC Health Check tool again. Most likely, you will now see a green checkmark. By taking these steps to enable TPM 2.0, you have cleared the biggest hurdle for Windows 11.
In conclusion, accessing the BIOS might seem intimidating, but the process is quite simple. Most modern hardware is already capable of meeting these high security standards. You just need to flip the right digital switch. Now that your security module is active, your system is more secure than ever. You are now ready to enjoy a faster and more reliable computing experience.
READ: How to Run a Windows 11 Compatibility Check for Your PC