
If you’re the go-to tech expert for your family and friends, the next time you get a call about a Windows PC, check if it’s still running Windows 10. If it is, you’re likely dealing with a system that needs an upgrade, especially since Microsoft officially ended support for Windows 10 on October 14, 2025. Without security updates, a Windows 10 PC could be at risk unless enrolled in the Extended Security Updates program, which extends support until October 2026.
However, upgrading to Windows 11 on older PCs can be tricky. Microsoft has imposed certain requirements, such as a compatible CPU, TPM 2.0, and Secure Boot, that prevent older systems from upgrading easily. If you try upgrading to Windows 11 and your PC doesn’t meet these requirements, you might encounter error messages indicating that your system is incompatible.
But don’t panic—there are ways to work around these restrictions, especially if your PC is less than 10 years old and has enough memory and storage. This article offers two methods to help you upgrade your Windows 10 PC to Windows 11, even if your system doesn’t meet the official requirements.
Option 1: Use a Simple Registry Edit to Bypass Compatibility Checks
To bypass CPU and TPM checks and upgrade your PC, you’ll need to modify the Windows registry. Follow these steps to make the necessary changes:
- Edit the Registry:
- Open the Registry Editor (
regedit.exe) and navigate toHKEY_LOCAL_MACHINE\SYSTEM\Setup\MoSetup. - If the
MoSetupkey doesn’t exist, create it by right-clicking theSetupfolder and selecting New > Key. - Inside the
MoSetupkey, create a new DWORD value namedAllowUpgradesWithUnsupportedTPMOrCPU. - Set its value to 1.
- Close the Registry Editor and restart your PC.
- Open the Registry Editor (
- Download the Windows 11 ISO:
- Visit the official Windows 11 Download page and download the ISO file for your PC’s architecture (x64).
- Save the ISO file in your Downloads folder.
- Mount the ISO File:
- Open File Explorer and double-click the ISO file to mount it as a virtual drive.
- If you encounter any issues, use Windows Explorer to open the ISO file instead.
- Run Windows Setup:
- In the mounted ISO, find and double-click
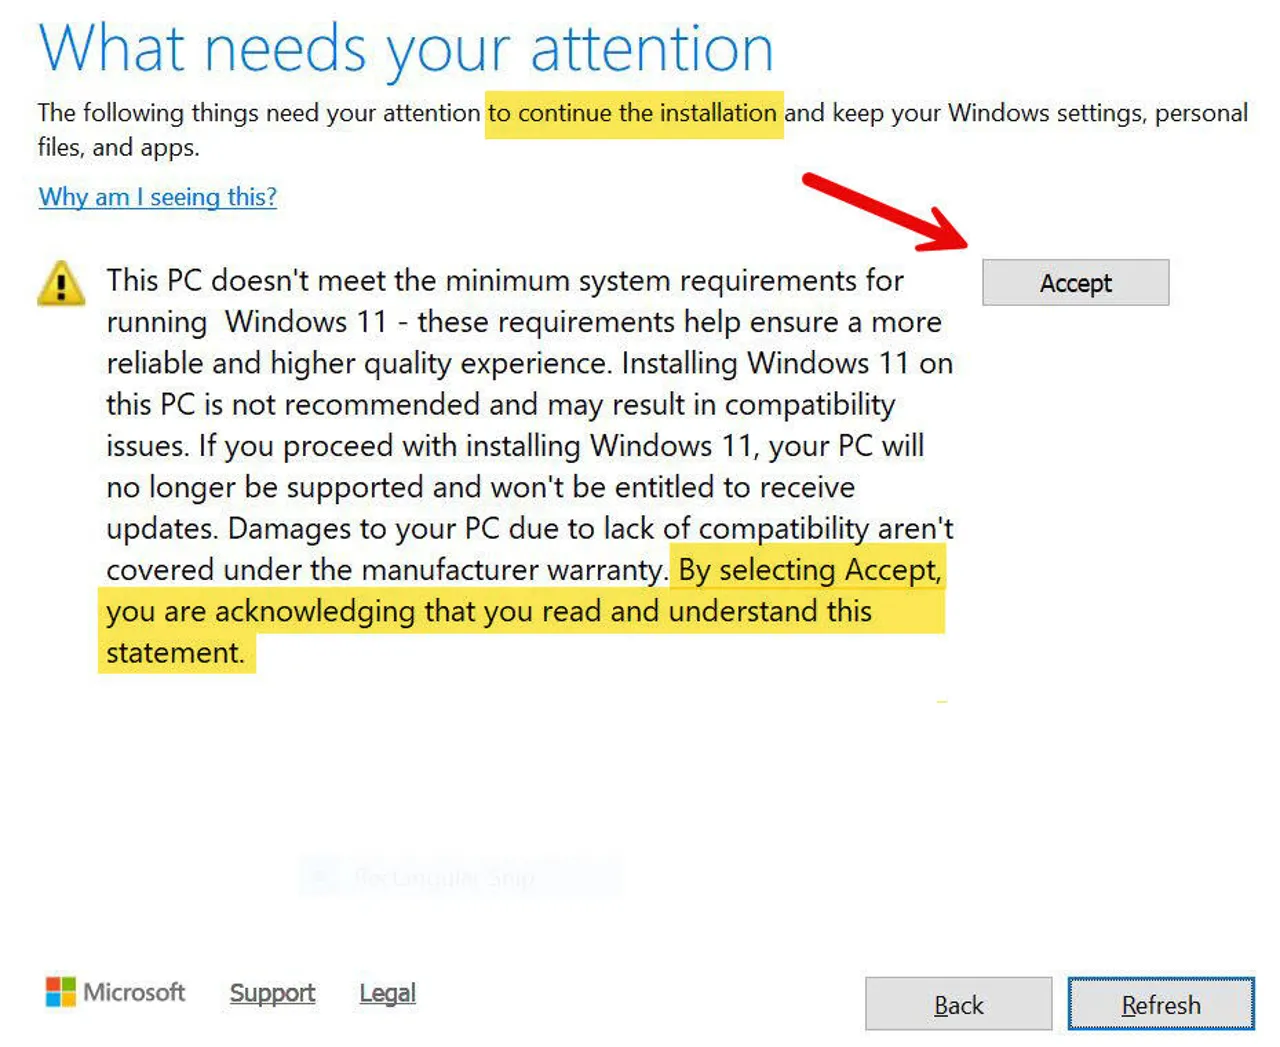
Setup.exeto start the upgrade process. - You will see a compatibility warning. Click Accept to proceed with the upgrade.
- Choose your upgrade option: you can either keep your apps, settings, and files, or start fresh.
- In the mounted ISO, find and double-click
Option 2: Use Rufus to Bypass Compatibility Checks
If your PC doesn’t support Secure Boot or TPM 2.0, you can still upgrade by using the free Rufus utility to create a bootable USB drive with the Windows 11 installer. Here’s how:
- Download Rufus:
- Download the latest version of Rufus from the official Rufus website.
- Prepare a USB Drive:
- Insert a USB drive with at least 16GB of storage.
- Open Rufus and select your USB drive and the Windows 11 ISO file.
- In Rufus, select GPT partition scheme and UEFI (non-CSM) for modern systems, or MBR partition scheme for older systems.
- Under “Advanced format options,” check the box to bypass the TPM and CPU compatibility checks.
- Create the Bootable USB:
- Click Start to create the bootable drive.
- Once completed, open the USB drive in File Explorer and double-click
Setup.exeto begin the installation process.
- Upgrade to Windows 11:
- After starting the setup, you’ll see a compatibility warning. Click Accept to continue.
- Select your preferred upgrade option, and Windows 11 will install on your PC.
Additional Considerations
If your PC is older than 10 years, or if it lacks support for key features like SSE4.2 and PopCnt instructions, you may not be able to upgrade to Windows 11. In such cases, it’s best to consider upgrading your hardware or performing a clean install of Windows 10 to ensure your system remains secure.
Conclusion
Upgrading to Windows 11 doesn’t have to be a daunting task. With the right workarounds, you can bypass the official compatibility checks and install the latest OS, even if your PC doesn’t meet all the official requirements. Follow the steps in this guide, and your Windows 10 PC will be ready for the next phase of updates.
Let me know if you encountered any issues during the upgrade process. Share your experience and ask for help if needed!