

Installing Windows in 2026 remains a straightforward process, whether you’re upgrading or setting up a new PC. To install Windows in 2026, follow these practical steps to ensure a fast, clean, and secure installation—without data loss or compatibility issues.
First, prepare your system and back up your data. Save important files to an external drive or cloud storage like OneDrive. Then, verify that your PC meets the minimum requirements. As of 2026, Windows 11 typically needs a 64-bit processor (e.g., Intel Core i5 or AMD Ryzen 5), 4GB RAM, 64GB storage, a DirectX 12-compatible GPU, and UEFI firmware with Secure Boot and TPM 2.0 enabled.
Next, download the official Windows installation media. Go to Microsoft’s website and download the Media Creation Tool. Plug in a USB flash drive (at least 8GB), run the tool, and select “Create installation media.” The utility will download Windows and make the USB bootable—no technical expertise needed.
Now, set up your PC to boot from USB. Insert the USB drive, restart your computer, and press the BIOS/UEFI key (often F2, F12, Esc, or Del) during startup. In the BIOS menu, change the boot order to prioritize the USB drive. Save your settings and exit—the PC will reboot from the USB.
Once the installer loads, begin the Windows installation. Choose your language, region, and keyboard layout, then click Install Now. If prompted, enter your product key—or skip it and activate later. When asked for the installation type, select “Custom: Install Windows only” for a clean install. Then, choose your target drive (usually C:). You can delete old partitions to start fresh if needed.
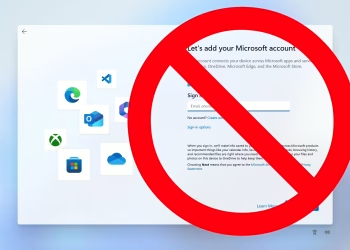
After that, wait for Windows to install. The process takes 30–60 minutes and includes several automatic restarts. When it finishes, you’ll enter the setup phase. Here, select your region, sign in with a Microsoft account (or create a local account), and configure security options like PIN or Windows Hello.
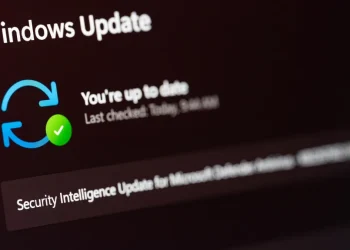
Then, install critical updates and drivers. Open Settings > Windows Update and check for the latest patches. While Windows may auto-install basic drivers, visit your PC or component manufacturer’s website (e.g., Dell, NVIDIA, or HP) to download the newest drivers for full performance and stability.
Don’t forget to activate Windows. If you skipped the product key earlier, go to Settings > System > Activation and enter it. Most modern PCs have the key embedded in the firmware, so activation may happen automatically.
Finally, personalize and protect your system. Customize your theme, wallpaper, and taskbar in Settings > Personalization. Install essential apps like browsers or productivity tools. Then, create a System Restore Point via Control Panel > System > System Protection—so you can roll back if issues arise later.
In summary, to install Windows in 2026, combine preparation, official tools, and post-install care. This approach ensures optimal performance, security, and longevity for your PC.